New Vintage Audio Restoration HQ

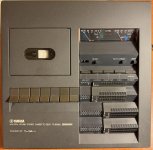
I can fix the electronics and the transport looks to be on great shape with no visible wear.
There will be a lot of electrolytic capacitors to replace! These days anyone working on electronics from the 1970s should expect to replace every one in sight. I do not use tantalum capacitors; if I find them I replace them with good quality electrolytics. Tantalum caps had a way of shorting back in the old days (1970s) and still do.
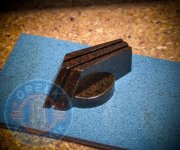
Showing what using the right polish can do - before and after removing scratches:

View attachment 36107
View attachment 36108
Dang! That looks amazing.
 
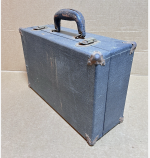
Sometimes, before any real restoration work can even begin, you first have to get rid of about 90 years of smell. 😂

One of the latest arrivals has an unbelievably strong old cigar odor — strong enough that I had to bring out the heavy artillery.

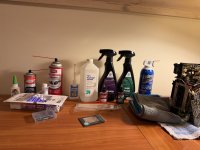
Whenever one of these old pieces arrives, I immediately open the shipping box and get all of the packing material and shipping boxes outside. Cardboard, paper, foam, and wrapping material absorb decades of odors and can make the whole room smell before you’ve even touched the equipment.

Usually, an overnight blast from a fan on the unit is enough to make a huge difference.

Not this time.

If you remember, I purposely bought some of these rougher pieces as a test to see just how far we can go restoring really challenging vintage equipment.

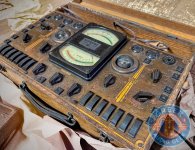
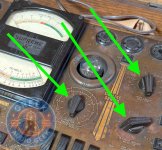
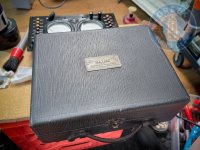
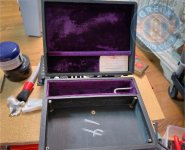
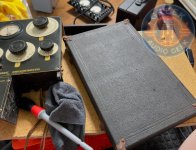
On the smaller unit, I already removed the meter and opened up the faceplate so I could get air circulating through the inside of the tester. That’s often where the worst odors live — all of that old cotton-covered wiring, insulation, dust, and internal material has spent 80–90 years sealed up with almost no airflow.

So this one got the full treatment:

Opened up.
Fan running.
Air purifier parked right next to it.

All before the actual restoration even starts.

Sometimes restoration is polishing brass and making old wood beautiful again. Sometimes it’s trying to convince a 90-year-old tube tester that it no longer lives in a cigar lounge. 😂
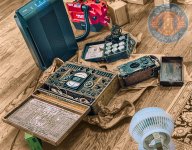
vintage audio.jpg
 
There will be a lot of electrolytic capacitors to replace! These days anyone working on electronics from the 1970s should expect to replace every one in sight. I do not use tantalum capacitors; if I find them I replace them with good quality electrolytics. Tantalum caps had a way of shorting back in the old days (1970s) and still do.

Dang! That looks amazing.
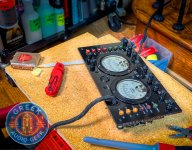
I’ve made some good progress. I’ve cleaned everything up internally and applied De-Oxit D-100 to all the switches (lots of ‘em!) and replaced the belts. The faders got D-100 follows by Faderlube F-100. The rubber was cleaned with rubber cleaner and is in good shape so I don’t think this deck got a lot of use. Really dirty switches got flushed with D-5 or CRC Electronics Cleaner.

Left channel is working, right channel is dead so I’m troubleshooting that. Chances are it’s a switch or a trim pot or a wire that has come loose. The transport is working well and the motor servo is stable, so that’s really good news. The rubber is unobtainium though there are some rebuilders out there.

I haven’t even started to think about electronic component replacement. Since it’s a single rail design this thing is chock full of aluminum electrolytics. I want to get it fully functional first and see how it performs. Then I’ll see about replacing caps. It is, after all a cassette deck with all the limitations that come with that format.

Those Tantalum’s are pesky time bombs. I’ve seen the aftermath of a PWB that burned up as a result of a tantalum cap fire. They sure had low ESR over a wide of frequencies though, so they got used in a lot of power supplies.

The cleaner/restorer that Michael recommended arrived today so more case cleanup is next in line.
 
I’ve made some good progress. I’ve cleaned everything up internally and applied De-Oxit D-100 to all the switches (lots of ‘em!) and replaced the belts. The faders got D-100 follows by Faderlube F-100. The rubber was cleaned with rubber cleaner and is in good shape so I don’t think this deck got a lot of use. Really dirty switches got flushed with D-5 or CRC Electronics Cleaner.

Left channel is working, right channel is dead so I’m troubleshooting that. Chances are it’s a switch or a trim pot or a wire that has come loose. The transport is working well and the motor servo is stable, so that’s really good news. The rubber is unobtainium though there are some rebuilders out there.

I haven’t even started to think about electronic component replacement. Since it’s a single rail design this thing is chock full of aluminum electrolytics. I want to get it fully functional first and see how it performs. Then I’ll see about replacing caps. It is, after all a cassette deck with all the limitations that come with that format.

Those Tantalum’s are pesky time bombs. I’ve seen the aftermath of a PWB that burned up as a result of a tantalum cap fire. They sure had low ESR over a wide of frequencies though, so they got used in a lot of power supplies.

The cleaner/restorer that Michael recommended arrived today so more case cleanup is next in line.

Good luck and keep us updated!
 
Back
Top