- Thread Author
- #1
well i was out messing around today and i ended up a lumber store. and i found these great pieces of wood.
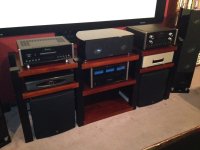
first i had a choice between red oak and poplar for the 3x3's. poplar is lighter which i didnt like but i also hate the hardness of that red oak. it splits its hard to work with and i think it maybe too hard to absorb any vibrations. and it has deep grain which would show up even under several coats of paint. so i went with the poplar. cheaper too!! i also found some maple 1"x2"'s . so now i have the makings of a new stand. first and most important step is getting the wood used to your environment, and getting all the tools together. thats done.lol. then take the rest of the day off and listen to some albums. phew!!! rough day .lol.
this is going to be black stand with removable natural color maple shelves which are on audio points. and the top will be a beast of a piece of maple(butcher block style) measuring 30"x20" , and that will be 3" thick. i still need to find some big points for that to sit on top of the 3x3's
the inner shelves will have 24"x18" of clearance , should be plenty to fit just about anything.
the overall height will be 32" which works out to 14" of clearance on the bottom shelf and 10" on the top.
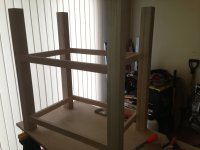
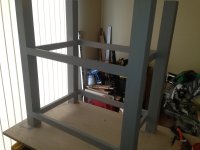
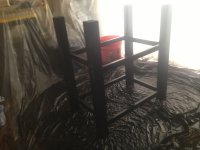
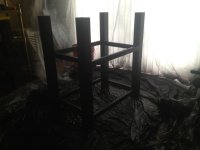
the frame will be basic rectangles between those 4 posts. and i will spray on like 10 coats of black acrylic high gloss. i want this baby to shine.
for the shelves i am going to cheat and order these. hehehehe. why make em, the lumber around here cost nearly what they sell them for. Maple - Kobi Blocks
the spikes im using for the inner shelves are here Dayton Audio DSS2-BC Black Chrome Spike Set 4 Pcs. - Speaker Spikes - Speaker Cabinet Accessories - Loudspeaker Components
going to take awhile to get this thread rolling as im out of town all week and busy all next weekend.
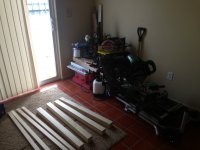
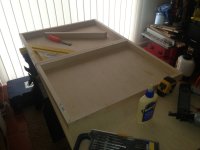
here a pic to get started. my lumber getting friendly with my enviroment.lol.
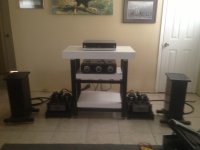
thats all i got for now. this is gong to be a good one!!! i hate the other one i built.lol.

